Getting Started With Raspberry Pi Pico

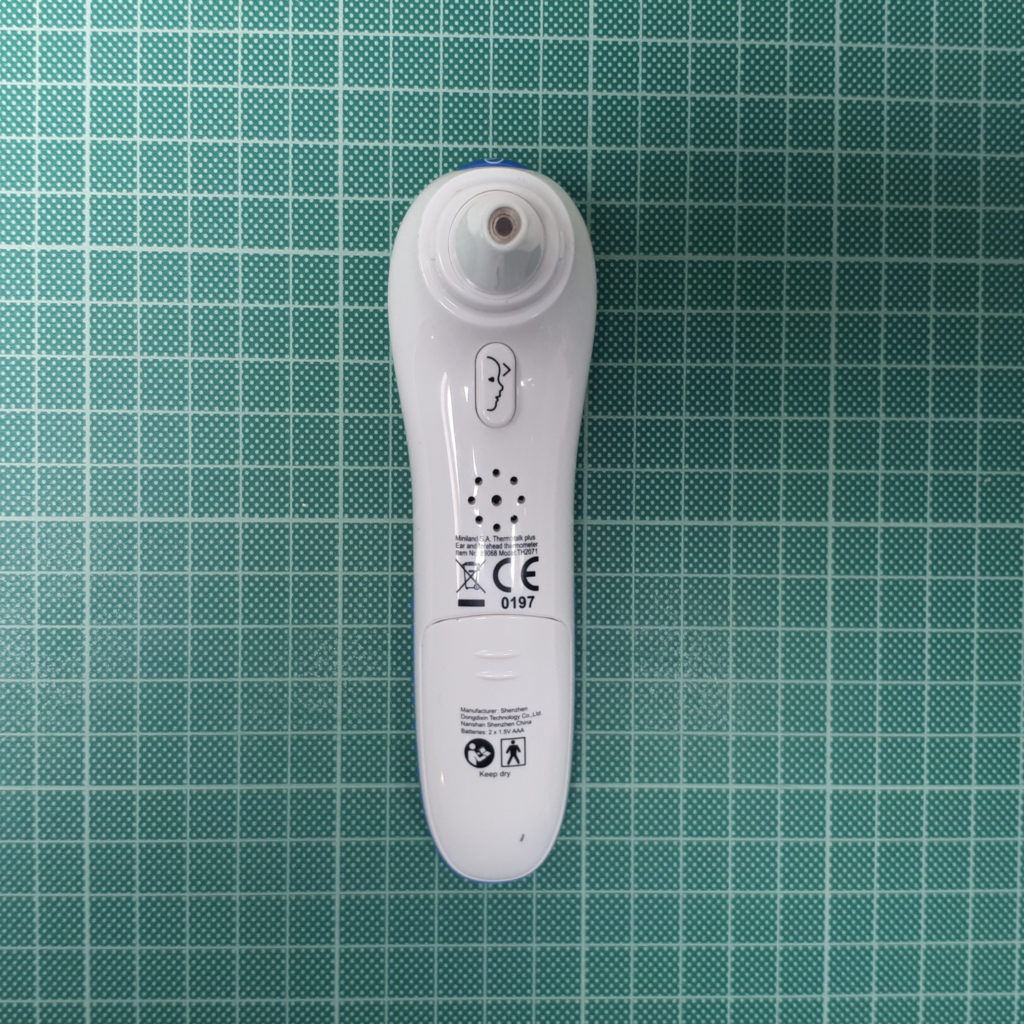
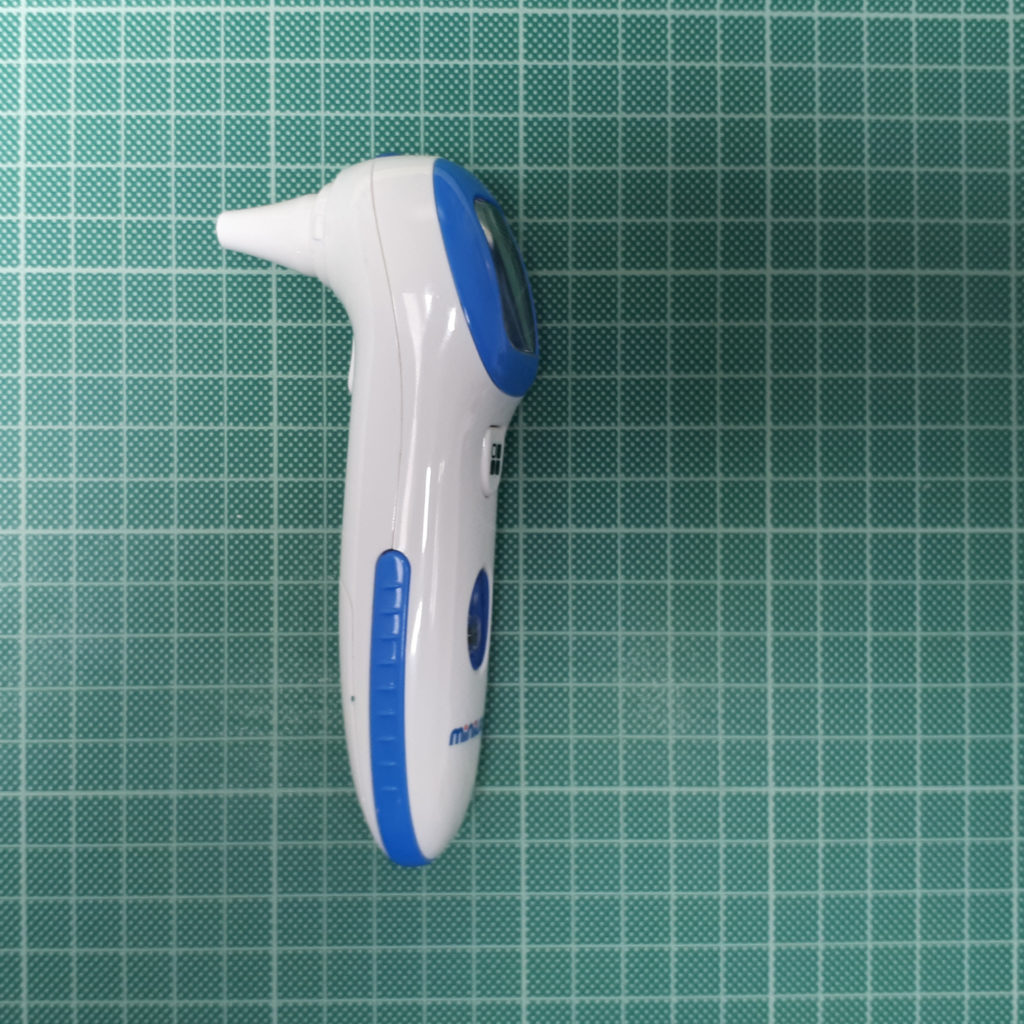
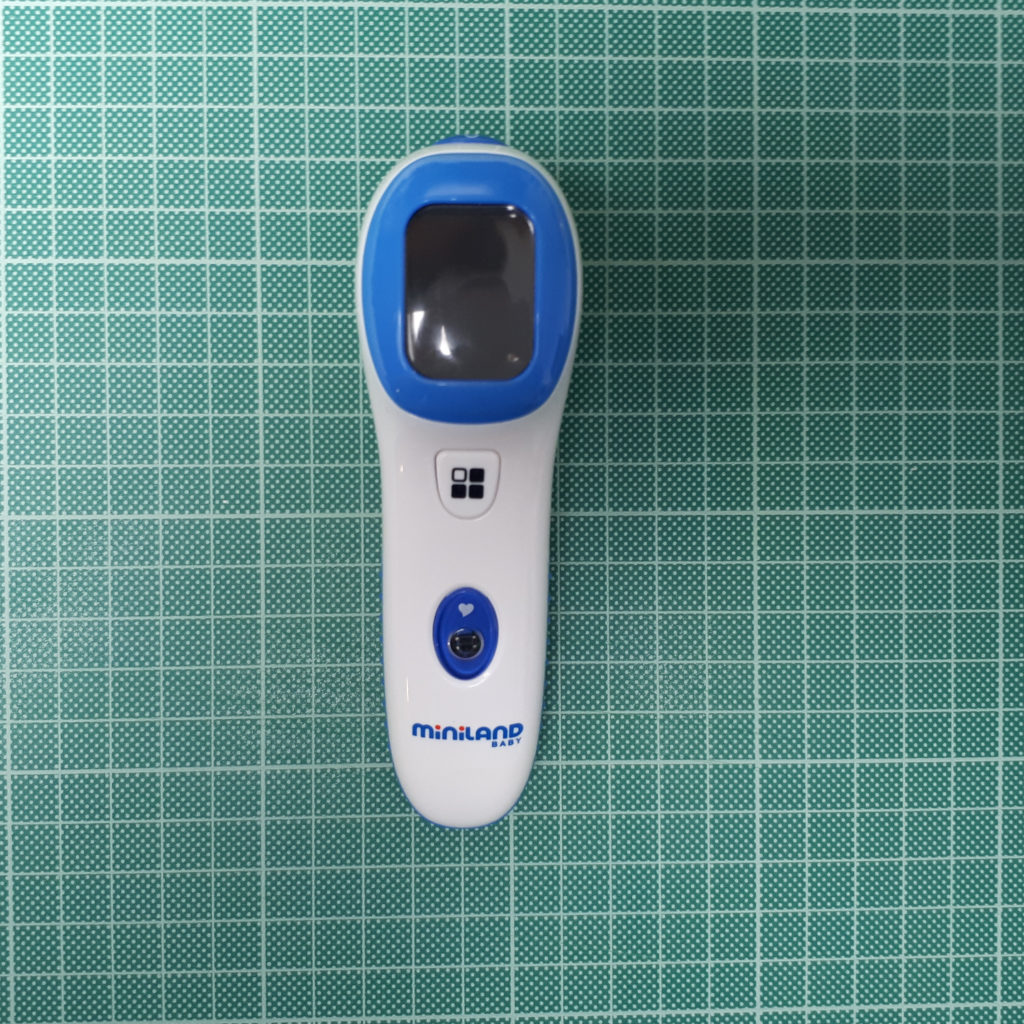
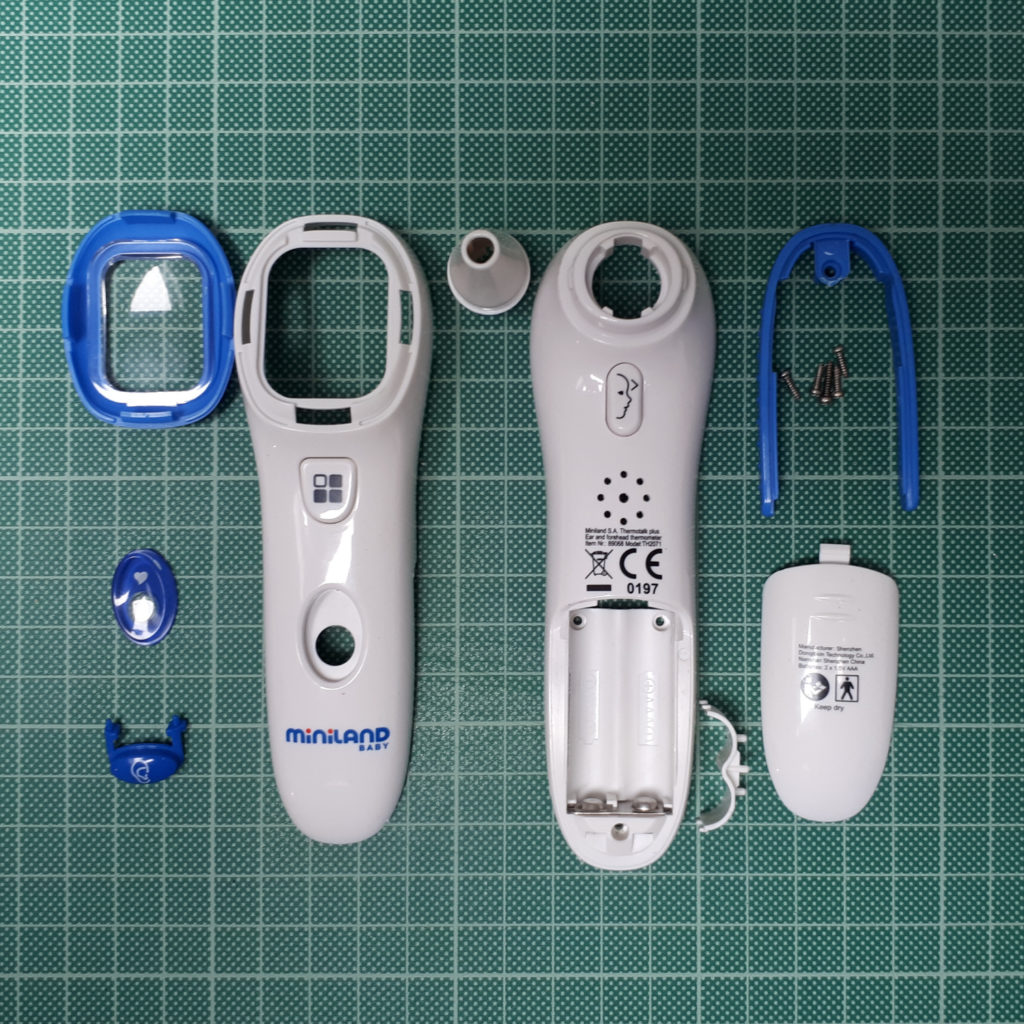
The Raspberry Pi Pico board is and interesting MCU (RP2040 microcontroller) for hardware and software engineers. Recently I got one, and as someone told me that you can use Rust with it (a language that I’m learning right now) I couldn’t wait to give it a try.

This post is just a quick guide, collecting some information a found on other places, on how to getting started with that board and how to build programs in C/C++ and Rust for the Raspberry Pi Pico.

Since I run Fedora Linux on my laptop, the steps on this guide works on that
distribution but should be very similar for other distributions.

Soldering header pins onto my Raspberry Pi Pico (Photo by Rain Rabbit on flicker)

Raspberry Pi Pico C/C++ programs

First I wanted to cross compile the RP2040 example programs using the Raspberry Pi Pico C/C++ SDK. But the installation scripts assume a Raspberry Pi OS running on a Raspberry Pi 4 or an equivalent Debian-based Linux distribution. Which is not my case. However, adapt the steps to use a Fedora Linux distribution was pretty trivial.

Install Fedora dependencies

My Fedora 36 system has most of the “C Development Tools and Libraries” (dnf install @development-tools) packages already installed, so I might miss some package dependencies. If that’s the case, please let me know.

Get the SDK and examples

There is a pico-examples repository that provides a set of example applications that are written using the pico-sdk. Following (and maybe adapting a bit) these instructions you should be able to setup the environment. In my case I followed these steps:

First, create a working directory

mkdir ~/pico
cd ~/pico

Then, clone the pico-sdk and pico-examples git repositories.

git clone https://github.com/raspberrypi/pico-sdk.git
cd pico-sdk
git submodule update --init
cd ..
git clone https://github.com/raspberrypi/pico-examples.git

Install the ARM cross compiler toolchain

As the MCU of the Raspberry Pi Pico is based on a RP2040 microcontroller, a different architecture that the one is running in my laptop, we need to install a cross toolchain to build the binaries. Here’s a minimal list of dependencies that will pull in additional required packages.

dnf install gcc-arm-linux-gnu 
 arm-none-eabi-gcc-cs-c++ 
 arm-none-eabi-gcc-cs 
 arm-none-eabi-binutils 
 arm-none-eabi-newlib

Blinking an LED in C

From the pico directory we created earlier, cd into pico-examples and create a build directory

cd pico-examples
mkdir build
cd build

Then, assuming you cloned the pico-sdk and pico-examples repositories into the same directory side-by-side, set the
PICO_SDK_PATH:

export PICO_SDK_PATH=../../pico-sdk

Prepare your cmake build directory by running

cmake ..

CMake has now prepared a build area for the pico-examples tree. From here, it is possible to type make to build all example applications. However, as we are building blink we will only build that application for now by changing directory into the blink directory before typing make.

cd blink
make -j4

Amongst other targets, we have now built:

  • blink.elf, which is used by the debugger
  • blink.uf2, which can be dragged onto the RP2040 USB Mass Storage Device

This binary will blink the on-board LED of the Raspberry Pi Pico which is connected to GPIO25 of RP2040.

Flashing the “blink.uf2” Binary

The simplest method to load software onto a RP2040-based board is by mounting it as a USB Mass Storage Device. Connect your Fedora laptop to your Raspberry Pi Pico using a Micro-USB cable, making sure that you hold down the BOOTSEL button to force it into USB Mass Storage mode.

$ dmesg | tail
[ 371.973555] sd 0:0:0:0: [sda] Attached SCSI removable disk

Check that the USB mass storage was detected and mounted

$ ls /run/media/$username/RPI-RP2
INDEX.HTM INFO_UF2.TXT

You can copy the blink.uf2 file onto the board to program the flash.

cp blink.uf2 /mnt/pico

The RP2040 will reboot, unmounting itself as a Mass Storage Device, and start to run the flashed code.

Raspberry Pi Pico Rust programs

The microprocessor typically uses C/C++, or MicroPython. This doesn’t mean, however, that we cannot get Rust to run on the Raspberry Pi Pico.

As my Fedora rust installation has no support fo the thumbv6m-none-eabi target I decided to use rustup to have the latest tools.

To do so, run the following commands:

curl --proto '=https' --tlsv1.2 -sSf https://sh.rustup.rs | sh

And then, add the thumbv6m-none-eabitarget with:

rustup target add thumbv6m-none-eabi

Rust can build to elf executable files. The problem is, elf executables will not run when dropped into the Pico. To run code, we need to translate it to the uf2 format. This is the format that usually works when dragging and dropping files into the Raspberry Pi Pico.

Fortunetely, elf2uf2-rs accomplishes this for us. This will automate the deployment of our code. This way, we wont have to deal with flashing the code to the device, we can just have cargo build our project and the code will be deployed on the Raspberry Pi Pico automatically.

So, install the elf2uf2-rs crate package with:

cargo install elf2uf2-rs

And add the following to your cargo config (mine is located at ~/.cargo/config

[target.thumbv6m-none-eabi]
runner = "elf2uf2-rs -d"

To keep things simple, I’ll be using example code from the repository that will blink an LED on our board. Specifically I will use the blinking onboard LED example.

Clone the rp-rs/rp-hal crate and navigate into the examples under the rp-hal/boards/rp-pico directory:

git clone https://github.com/rp-rs/rp-hal.git
cd rp-hal

Now, making sure that you hold down the BOOTSEL button to force it into USB Mass Storage mode, we can load the example onto our Raspberry Pi Pico using the following shell command:

cargo run --release --example pico_blinky

Conclusion

The Raspberry Pi Pico looks very promising, while undercuts most on the market while delivering unique features. Programming and getting started with
it is pretty simple, and things just work. Not to mention the exhaustive documentation that goes along with it. I’m pretty sure I’m going to have fun with this microcontroller and probably I’m going to use as a platform to learn more about Rust.

Linux Kernel 5.4

Linus has released the 5.4 kernel and Collabora was once again a very active contributor to the Linux project. For this release, 12 Collaborans authored 95 commits while also helping the kernel maintainers by contributing 124 Reviewed-by tags. It’s also worth mentioning that Emil Velikov joined the list of the 10 top reviewers for this release!

On the media subsytem front, …  Read the original article here.

Inside the Thermotalk Plus

The thermotalk plus by Miniland Baby is a clinical IR thermometer with pulse reading. The main features are:

  • Ultra-quick thermometer with infrared temperature measurement in 1 second.
  • Measures body pulse in just 15 seconds.
  • Communicates measurements by voice through its LCD display.

The thermotalk opens from the bottom just removing four screws. Inside, a single board contains all the electronics. In the top-down view, you can see some interesting components.

First off, an infrared temperature sensor. This type of sensor will transform the infrared light into an electric current. This electric current is then measured by an amperage or voltage detector.

Secondly, a segmented LCD display that is used to show the temperature and various other information. The display is connected to the circuit board directly, without connectors.

Finally, there is the speaker usedto communicate measurements in different languages.

The circuit board looks a two-layer board with green solder mask and white silkscreen on both sides. The PCB is comprised of surface-mount components and some through hole electrolytic capacitors.

The brains of the thermometer is a microprocessor that is die-mounted to the circuit board. A dome of black epoxy is used to keep it in place. It is most likely a custom IC designed especially for this application.

Attached to this microcontroller is a 24C08 EEPROM that most likely saves calibration constants and settings. The EEPROM is in a SOIC-8 package.

And on one tip of the board, there is a Biometric Pulse Rate or Heart Rate detecting sensor.

After disassembling, there are some components to reuse:

  • Segmented LCD display
  • IR temperature sensor
  • Speaker
  • EEPROM
  • Heart rate sensor
  • Mechanical button

OpenSUSE on a Lenovo Yoga 530 14IKB

The Three Wise Men bring me a new Lenovo Yoga 530 14IKB. As this will be a shared computer I need both operating systems installed, Windows and Linux. After finishing the Windows 10 setup, I decided to give openSUSE Tumbleweed a try.

First of all, you should get the installation media for your desired Linux and prepare a USB stick for the installation. For openSUSE Tumbleweed you can download a network installation image from ‘https://software.opensuse.org/distributions/tumbleweed’

To have some space for Linux, I’ve reduced the Windows partition to about 256GB so that Linux has about 256GB too. To do that you have to do the following steps in Windows:

  • Right-click Computer on the desktop, choose Manage.
  • Select Storage > Disk Management.
  • Right-click the partition that you want to reduce, select Shrink Volume.
  • Edit the proper size for the new partition, then click Shrink.

To boot from the USB stick rather than the Windows partition, you have to press F12 at boot time. Choose the prepared USB stick and boot into the openSUSE Linux installer.

Unfortunately wifi didn’t work out of the box in the live environment, so I had to insert a USB to LAN adapter.

The default installation options worked for me, just I took special attention at the disk partitioning step to make sure didn’t break the Windows 10 installation.

After all, OpenSUSE has been installed to the spare partition, the bootloader has been installed to the EFI partition and a boot entry for Windows has been created. Awesome.

UPDATE 2019/01/30

  • Athough the installation when fine I had a high CPU load problem related to btrfs that causes lock up and make the system unusable for a while. On a first try to fix I ran zypper dup (which is shorthand for zypper dist-upgrade) to upgrade all packages, just in case the problem magically disappears, but far from solve the problem the new kernel hung due the btrfs filesystem, again. And my system didn’t start anymore going to the recovery system. Looks to me that btrfs is still no well supported so I hightly recommend use ext4 instead.

WiFi-controlled camera slider

I have been helping one of my friends build a WiFi-controlled camera slider. He did all the mechanical design and I implemented the electronic and software parts. The camera slider is motorized using a single NEMA-17 stepper driven by the EasyDriver Stepper Motor Driver on top of an Arduino MKR1000.

Connection diagram

The electronics has been populated on a perforated prototype board.

The MKR1000 allows us to remotely control the movement of the camera slider by connecting to the MKR1000’s web interface. To access to the web interface, you’ll first need to connect to the slider’s ESSID and wait for a local IP address. Then you can connect to the control interface through http://192.168.1.1 and you will see something like this.

Slider Web interface

With the basic functionality working the next steps to be taken are:

  • Improve the mechanics to have less friction.
  • Improve the Control Web Interface style.

Links

Linux Kernel 4.17

Linus Torvalds has now released the official Linux 4.17, so it’s time for our traditional blog post summing up our contributions to the latest version of the Linux kernel. Collabora contributions were made by 9 different developers, at the same time we added our Reviewed-by tag to 60 patches, the Signed-off-by tag to 93 patches and the Tested-by tag to 4 patches.

This round, the DRM subsystem is the one that received more contributions from the Collaborans.  Read the original article here.

Pin It on Pinterest